Let's Talk ACV Extractions!
You may be coming into this blog post wondering what ACV stands for, but if you're a smarty-pants you already know it's a short form for apple cider vinegar! We've been meaning to write some blog posts about apple cider vinegar for awhile... several years actually.
Why? Because not only do we use ACV in our homes and kitchens, we use it in our holistic orchard management too!

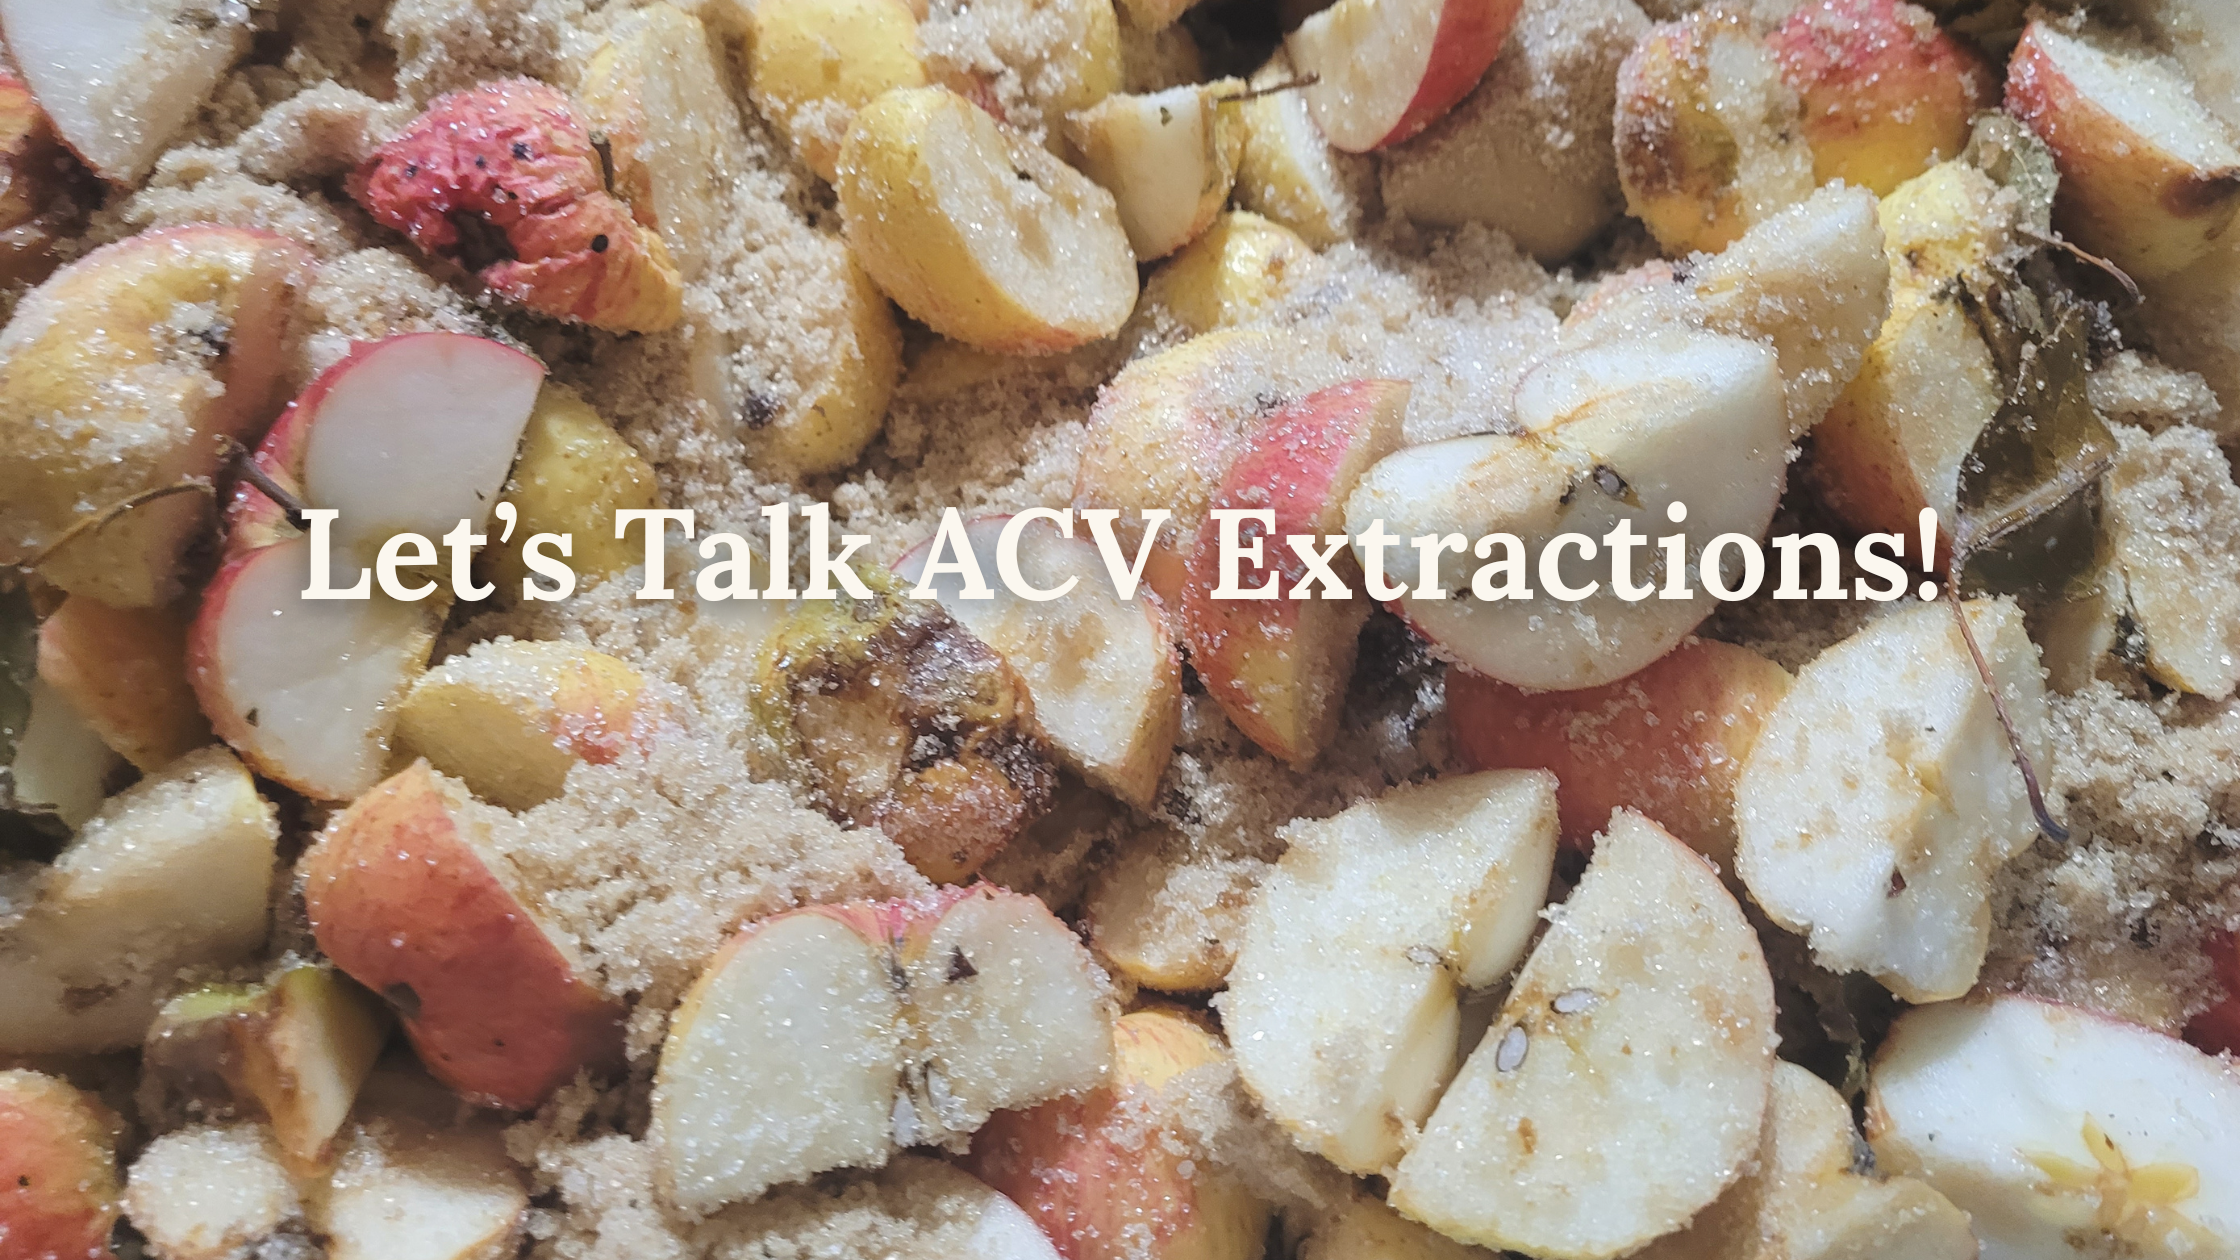
Initially, Zack and Steph learned about using apple cider vinegar from Nigel Palmer's Regenerative Grower's Guide to Garden Amendments. Not only can you use vinegar to create garden amendments, which is what we'll discuss in this blog post, you can brew your own cider vinegar from your apple trees, using up otherwise wasted apples and returning them to the Earth as a healthful part of your orchard management!
We’ll share about how we brew our own vinegar - and how you can too - in another blog post soon. We love that brewing our own ACV allows us to use up otherwise wasted apples (drops, damaged fruit, leftover cider from our annual fruit tasting) and returning them to the Earth as a healthful part of our orchard management!
Moving back to garden amendments, the acidity of apple cider vinegar breaks down minerals from materials such as eggshells and bones into water-based forms that are shelf-stable for years. The following recipe allows you to make a mineral-ful vinegar extraction that can be diluted and applied to plants (roots, leaves and bark) and soil.

Sourcing eggshells, seafood shells (oyster, crab, clam) and bones (cow, fish, pig, chicken) from your own kitchen waste or other local sources for these vinegar extraction amendments also closes another loop in the sustainable, regenerative way of all good things! A final lovely little notable bit is that if you forget about your extraction for a long while it’ll still be just fine (a little different than brewing beers, wines or vinegars).
How to Make Your Own Vinegar Extractions
Here's the recipe, which is an excerpt from Nigel Palmer’s book (Chelsea Green Publishing 2020) and is reprinted with permission from the author and publisher.
Materials
- Eggshells, bones, shells, or other available material
- Oven, grill, or fire
- Glass jar or crock
- Organic apple cider vinegar
- Piece of clean cloth
- Strainer
Procedure
Step 1. Be sure to give thanks for the materials provided, gathered, and used. Then begin by cooking the materials to remove water and residual organic material. Eggshells can be toasted in a toaster oven—just pop them in and push the toast button one
to three times. Be sure the toaster is set for light toast. Bones used for making a broth can be cooked on a grill afterward or in a large metal can over an open fire to remove moisture and any residual organic material. On a gas grill set at medium heat (300 to 350°F/150–175°C), bones will cook sufficiently in 40 to 60 minutes, depending on their initial state. To cook bones over an open fire, first punch several holes in the can to provide ventilation. Once the fire has burned down, nestle the can filled with bones into the bed of coals for the night. By morning moisture and residual organic material will be gone. Cooking bones outside allows any unwanted smells to drift away rather than stink up the kitchen. Oyster or clamshells may be cooked in the same way as bones; an indoor oven set at low heat will also work. It may work best to cook lightweight shells like crab shells in the toaster oven, as you would eggshells. It is most efficient to cook material in bulk and store the cooked material on the shelf, and then extract them as needed.
Step 2. When you want to make an extraction, add cooked materials to a jar or crock, filling about 10 to 15 percent of the container.
Step 3. Add organic apple cider vinegar, filling the container close to full. Leave at least 1 inch (2.5 cm) of space at the top, because fizzing and foaming may occur as chemical reactions start to take place. It’s a good idea to put the jar or crock in a bowl or on a tray to catch spills.
Step 4. Put the cloth over the top of the jar or crock and store in a well-ventilated space out of sunlight for at least a week. Do not cover the jar or crock tightly, because the gases of reaction need to escape. A lid can be used to cover a glass jar during this phase, but leave it loose.
Step 5. After a couple of weeks, the extraction will have run its course, and the liquid may be decanted. Repeat extractions after decanting the liquid. There is still much mineral left in the bones or shells after the first extraction, so repeat the process until no gas reaction occurs. This may be three to five times.
Step 6. Strain and store the liquid in a glass jar with a secured top in a well-ventilated space out of sunlight. Be sure to label the container with dates, the extraction process used, and the ingredients. If you do multiple extractions of a batch of material, you can store all the decanted liquid in one glass container.
Step 7. Once you have extracted the bones or shells as many times as you wish, put the residual material into the compost pile. These cooked materials lack the odors that may attract most types of animals, although I have found leftover chunks of bones in trees around my property, gnawed on by squirrels that recognized the bit of mineral content that remained in them. Now, that is completing the waste cycle.
Uses
Shells are good sources for calcium; bones provide calcium and phosphorus as well. Both are rich in macro- and microminerals wanted in the soil and by plants. These products may be used to augment the mineral content of broad-spectrum amendment products, such as fermented plant juice made from dandelions, to facilitate the mineral needs of plants at different growth phases. Dilute vinegar extractions with good water at a ratio of 1:500 up to 1:1000. (One tablespoon in 4 gallons / 15 L is approximately 1:500.) Apply as a foliar spray or a drench.
Video
For you visual learners, Nigel also has a great video of the vinegar extraction making process:
Nigel's book has offered our whole staff team a wealth of knowledge on our holistic orchard management and solo gardening journeys and we hope you'll enjoy learning more about creating your own gardening amendments via his many resources!