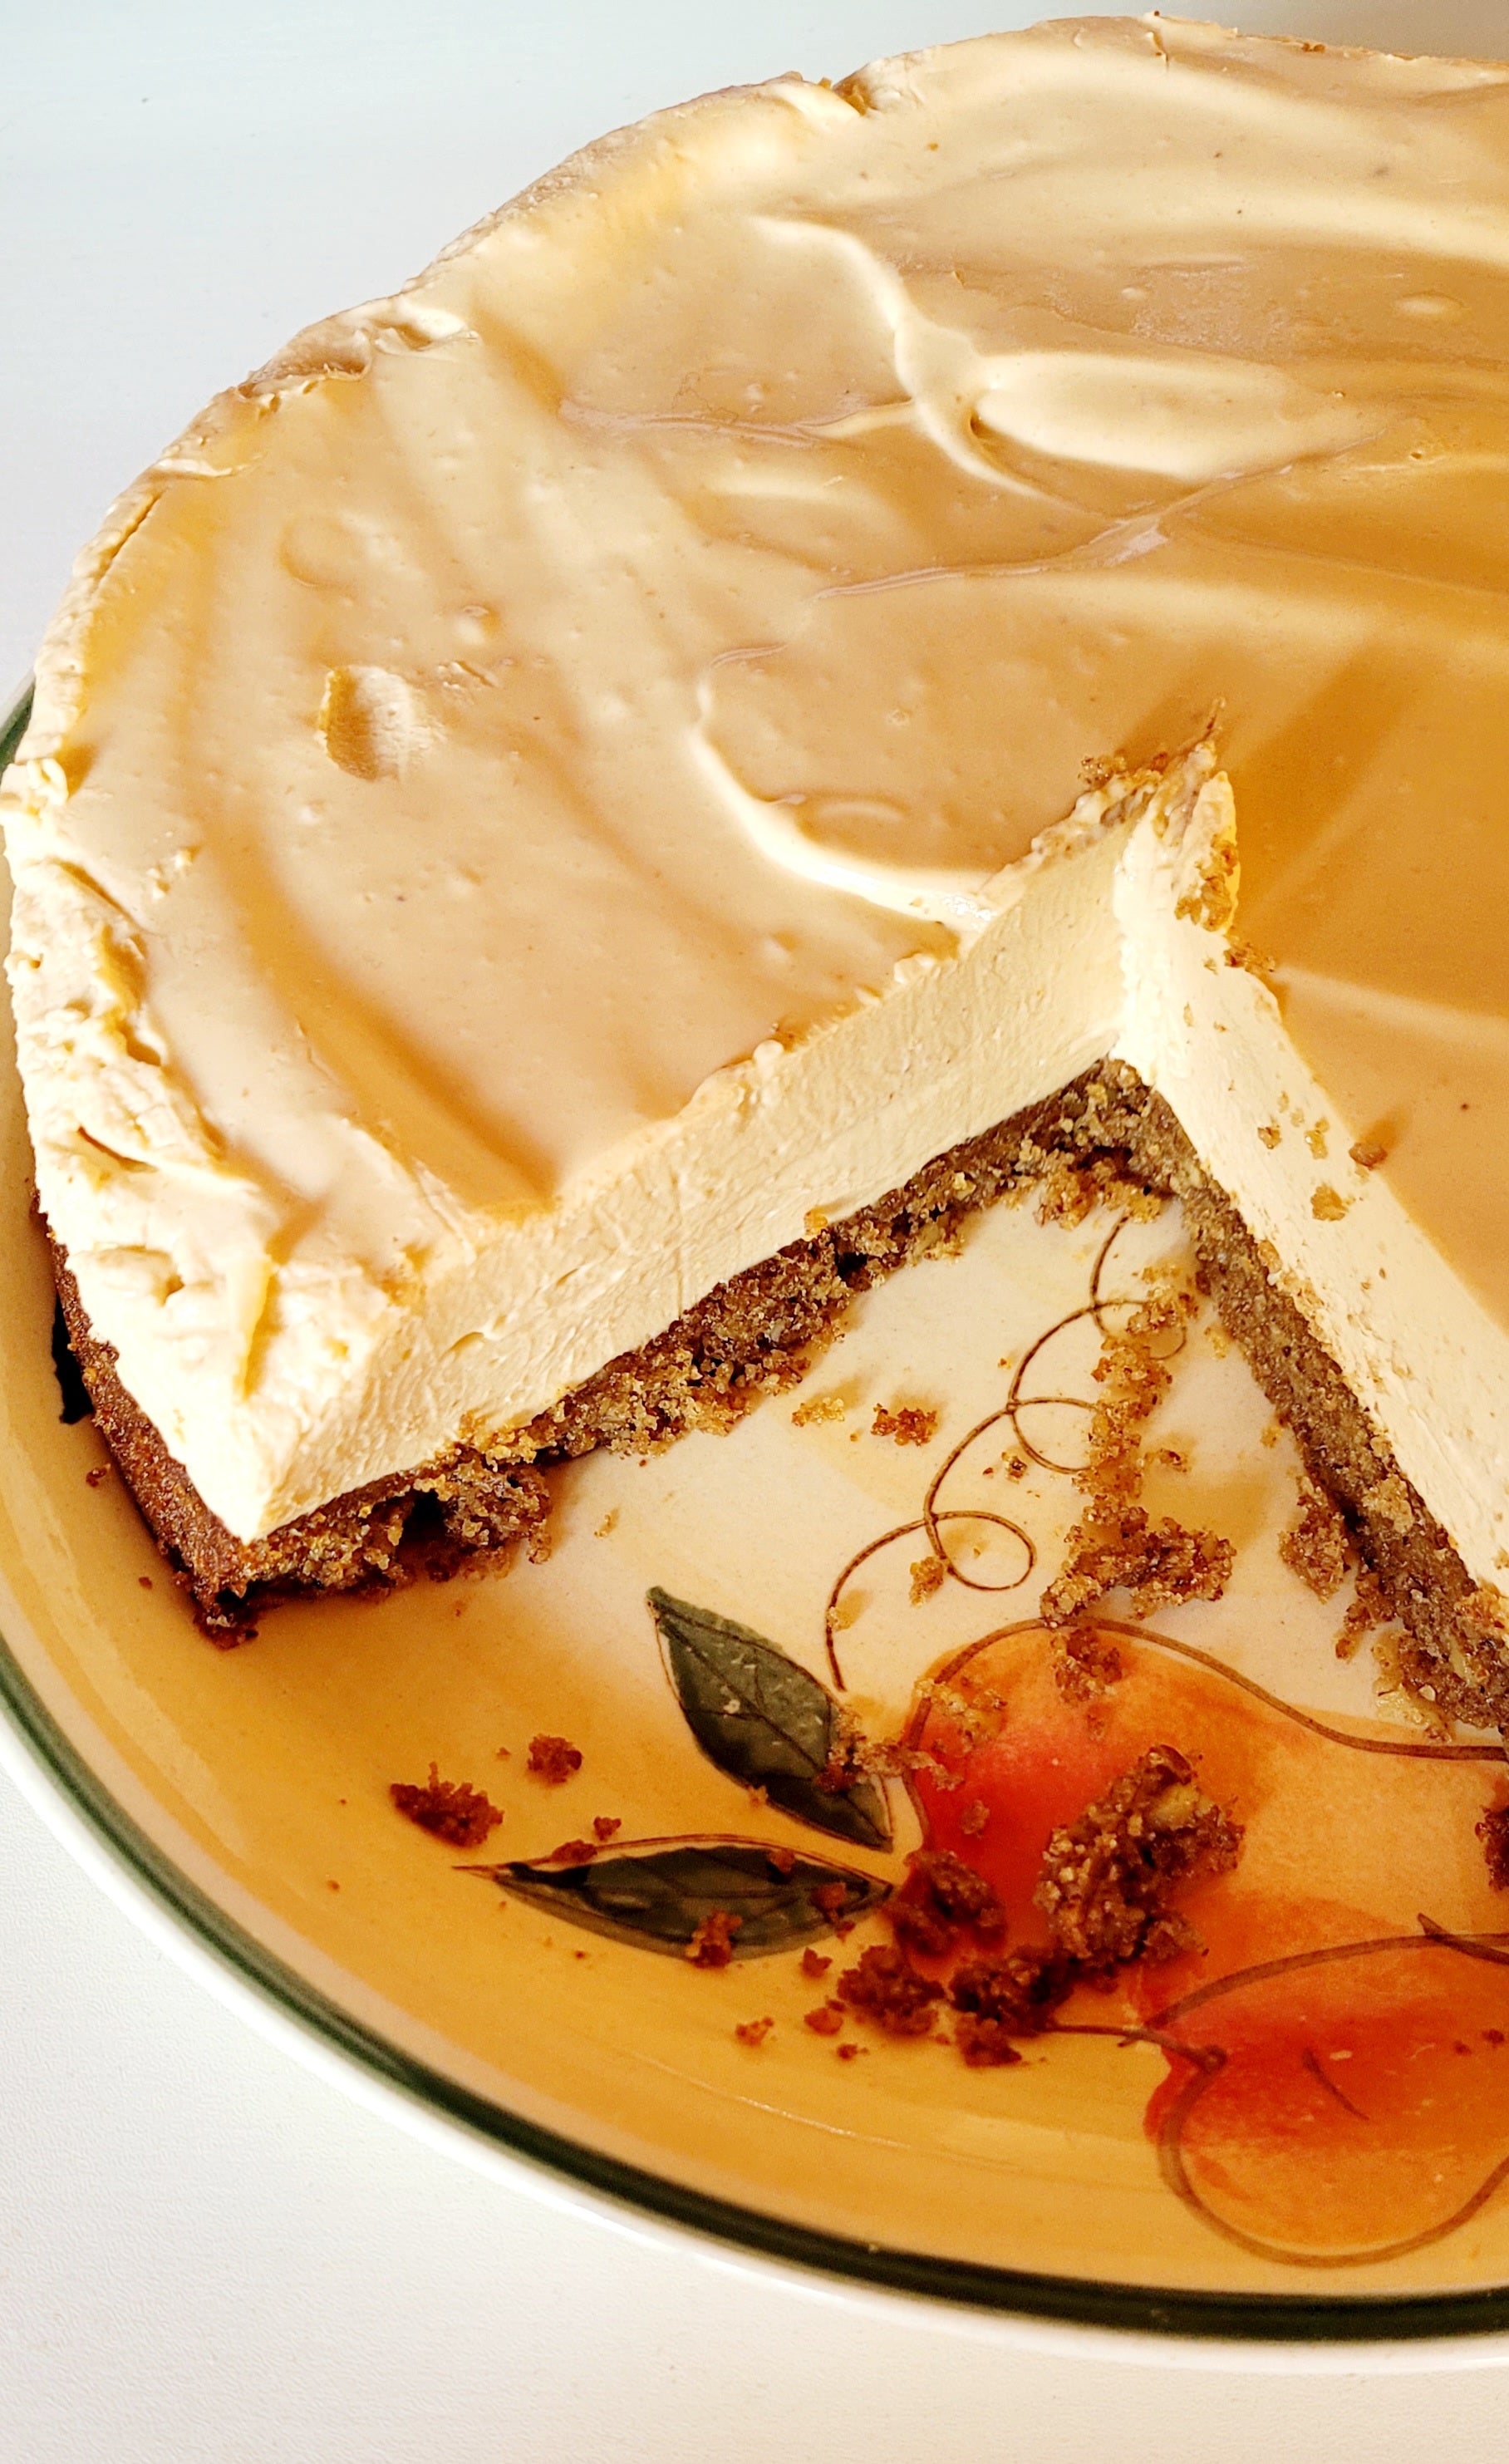
No-Bake Pawpaw Cheesecake
Recipe Authored by Mouse Paxton of Silver Creek Nursery
With an abundance of pawpaws this year, we wanted to make sure we were trying at least one pawpaw recipe to make full use of this unique native fruit! It has a similar enough texture to bananas that my first plan was to bake pawpaw bread. However, additional research revealed that cooked/baked pawpaw causes extreme GI distress in a not insignificant number of people even amongst those who can eat raw pawpaw without issue. Deciding I didn't want to risk sending half the Silver Creek Nursery team home with upset stomachs, I opted for a recipe that did not require any actual baking.

I came across a no-bake pawpaw cheesecake recipe and realized it was perfect since my trans girlfriend and I were going to celebrate Wolfenoot, a holiday made up by a seven year old to honour canines and kindness. Part of the holiday involves eating a white or yellow cake that looks like the full moon; a pawpaw cheesecake would be great with its yellow colouration!
This recipe is relatively easy to make but you will need to plan ahead since it does need to set for a while, ideally overnight. The recipe is divided into two parts, the nut crust and the actual pawpaw cheesecake.
Making the Nut Crust:
Ingredients:
- 8oz pecans (grow your own!)
- 6oz walnuts (grow your own!)
- 3 tbsp golden yellow sugar
- 4 tbsp melted salted butter for the mixture and some additional butter to grease your pan
- Pinch of nutmeg
Note on the nuts: Feel free to substitute the kind of nuts as desired! The recipe I found originally called for almonds instead of walnuts but my girlfriend doesn't like almonds. The taste was still excellent! If you want to try making this recipe with your own homegrown nuts, we carry a variety of nut tree seedlings!
Instructions:
- Preheat the oven to 350°F (or 360°F if you're like me and have a really sad oven).
- Add all of the ingredients into a food processor and blend everything together, occasionally scraping the sides and bottom with a spatula. You'll know it's good to go once the nuts are ground down and everything sticks together.
- Transfer everything to a pan (I used a 9" spring-form pan) and press it down with a spatula so everything is even.

- Bake the crust for 25-30 minutes in the oven.
- Remove the crust from the oven, dock the crust (my girlfriend's recommendation), and let it cool until it is room temperature. Take a moment to enjoy how nice it smells!
- Chill the crust for an hour in the fridge or, if you have ADHD like me, realize that you forgot to unthaw your frozen pawpaw puree and chill the crust for 24 hours instead while the puree thaws.
- Remove the crust from the fridge once it is chilled and grease the sides of the pan with butter.
- Cut parchment paper into strips and slot it in between the crust and the pan. This will make it easier to remove the cake once it is done!
Making the Cheesecake:
Ingredients:
- 2 1/4 cup of pawpaw puree (fresh or frozen, I used frozen and would recommend remembering to thaw it first!)
- 500g (2 blocks) softened cream cheese
- 2/3 cup golden yellow sugar
- 1 1/3 cup heavy cream
- 4 1/2 tsp gelatin powder
- 1/2 cup cold water
Instructions:
- Add the cold water to a microwave-safe bowl and slowly sprinkle in the gelatin powder, stirring as you do so until it is dissolved.
- Let the gelatin sit for 5 minutes and then microwave it for 15 seconds. Stir the gelatin and then microwave it for another 15 seconds. Stir it again and then let it sit for five minutes.
- Add the puree and sugar to the food processor and blend it for approximately 30 seconds. Let it sit for 3 minutes. Blend it again for another 30 seconds and then let it sit for 5 minutes. Blend it for another 30 seconds. This should fully dissolve the sugar.

- Add the heavy cream and cream cheese to the food processor. Blend it until smooth, occasionally scraping the sides and bottom with a spatula.
- Add the gelatin and blend it for 1 minute until smooth.
- Pour your cheesecake filling over the crust and use a spatula to even out the top.
- Cover the cheesecake, ensuring the covering isn't touching the surface of the cake, and place it in the fridge to set. It requires a minimum of 3 hours to set but ideally you want it to set overnight.
- Enjoy!!
The cheesecake is delicious with a relatively mild but pleasant pawpaw flavour. It has been a huge hit at the nursery and my pawpaw-loving girlfriend loved it! This was my first attempt at a no-bake cheesecake and found it pretty easy. I'm definitely planning on making it again next year when our pawpaws are ripe!

For anyone interested in growing this unique native tree, we are happy to offer them here at the nursery! They are Jodi's 2024/2025 Staff Favourite, meaning the seedlings are 20% off for Spring 2025.

